Task Manager Fields

- Login ID: This field automatically displays the login ID of the current user. This field can be changed by
- From: This is the beginning target date for the task. This field corresponds with the Task panel in the workflow. The current date automatically loads in this field, but can be changed by using the calendar icon.
- To: This is the end date for the task. This field corresponds with the Task panel in the workflow. The current date automatically loads in this field, but can be changed by using the calendar icon.
- Task Type: Select the desired task type to include in the search: All, Inspection, Review, or Hearing.

- Search: Begin typing in the search field to narrow the result list.
- Available:
- Yes: This includes tasks that are available to be worked on (for example, in an open milestone, not closed due to a flag, etc.).
- No: This includes tasks that are not available.
- All: This shows all of the tasks whether they are available or not.
- Complete:
- Yes: This includes tasks that are complete.
- No: This includes tasks that are not complete.
- All: This includes all of the tasks whether they are complete or not.
- Search:
- Reset:
- Compact View:
Task Manager Search Results Fields
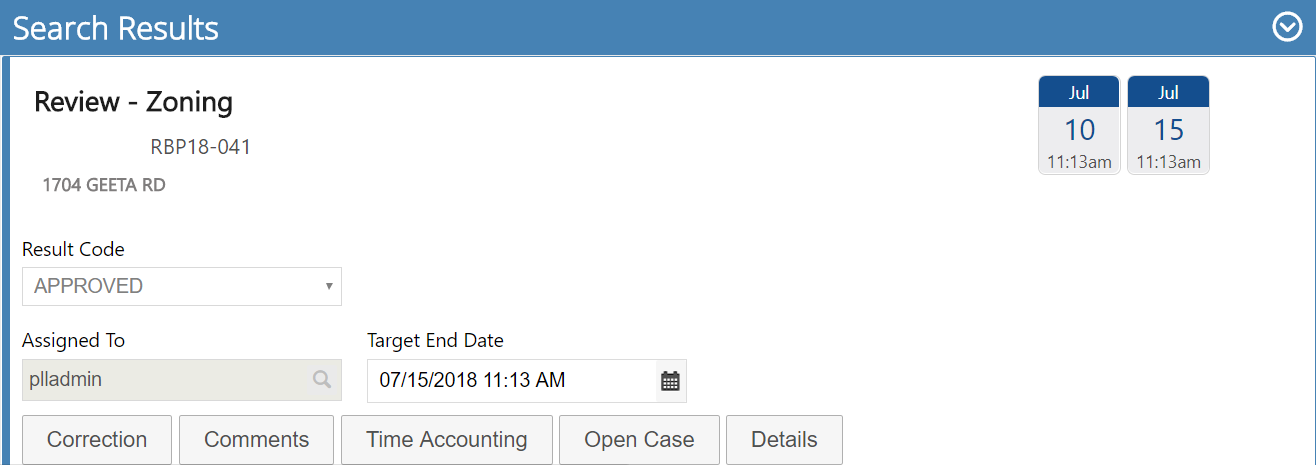
From here, you can view details for the task, such as the case type/number, case subtype, and task name.
- Result Code: Use the drop-down list to identify the result of the task. The result codes available in the drop-down list vary, depending on the case type.
- Assigned To: This automatically populates with the employee assigned to the task. To change the employee,
- Target End Date: Use the calendar icon or double-
- Correction:
- Comments: Add any additional comments here. See Comments for more information on adding comments to task.
- Time Accounting:
- Open Case:
- Details:
- Task Complete By: This field automatically displays the login ID of the current user. This field can be changed by
- Task Complete Date: This field automatically displays the current date. Use the calendar icon
- Print Crystal Report: Select reports from the drop-down list and
 NOTE: The administrator must define Crystal Reports in the WebAppSetting.config file stored under .../inetpub/wwwroot/<site_alias>/WebSite, as well as add the report to System Reports within PLL Admin and the Reports Manager tab on the main Cityworks toolbar. The name referenced in all three places must be exactly the same.